Other Page Portal
Badge Management & Eligibility
The badge system is designed to scale across collections, experiences, and games, providing a flexible way to reward engagement and participation. By awarding badges, communities can gamify achievements and boost user satisfaction, contributing to both member retention and community growth.
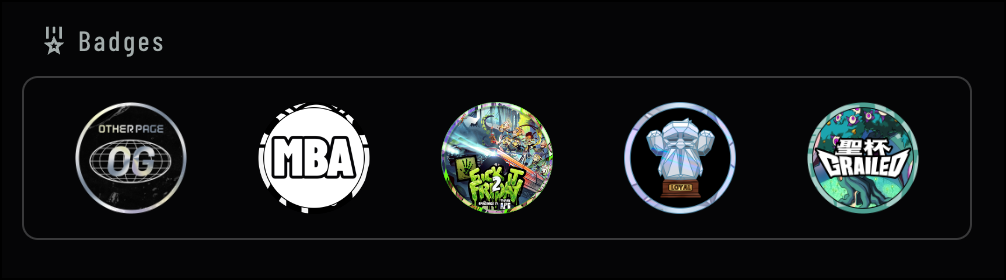
Badge Overview
The Badge Overview provides a central location to manage all badges created for your community. Here, you can view badge details, make edits, delete badges, and filter badge holders to quickly locate specific information. Discover how to set up badge eligibility using audiences in our Adding Audiences to Badges for Eligibility documentation.Badge Types
 Achievement Badges: Awarded for accomplishing a specific task. Examples include community contributions, game achievements, holding an NFT for a duration of time, and more.
Attendance Badges: Awarded for participating in digital and real-life experiences. Attendance badges can be tied to a specific community, boosting the user’s reputation within that community. These badges provide a great way for users to celebrate shared experiences.
Collector Badges: Awarded for collector accomplishments, including holding a specific asset or combination of assets and/or traits across multiple collections.
Achievement Badges: Awarded for accomplishing a specific task. Examples include community contributions, game achievements, holding an NFT for a duration of time, and more.
Attendance Badges: Awarded for participating in digital and real-life experiences. Attendance badges can be tied to a specific community, boosting the user’s reputation within that community. These badges provide a great way for users to celebrate shared experiences.
Collector Badges: Awarded for collector accomplishments, including holding a specific asset or combination of assets and/or traits across multiple collections.
Creating Badges
Badges allow you to recognize and reward members for their achievements, participation, or contributions to your community. You can easily create a badge by selecting how to host it, setting eligibility requirements, and uploading a badge image. Follow these steps to create a new badge:-
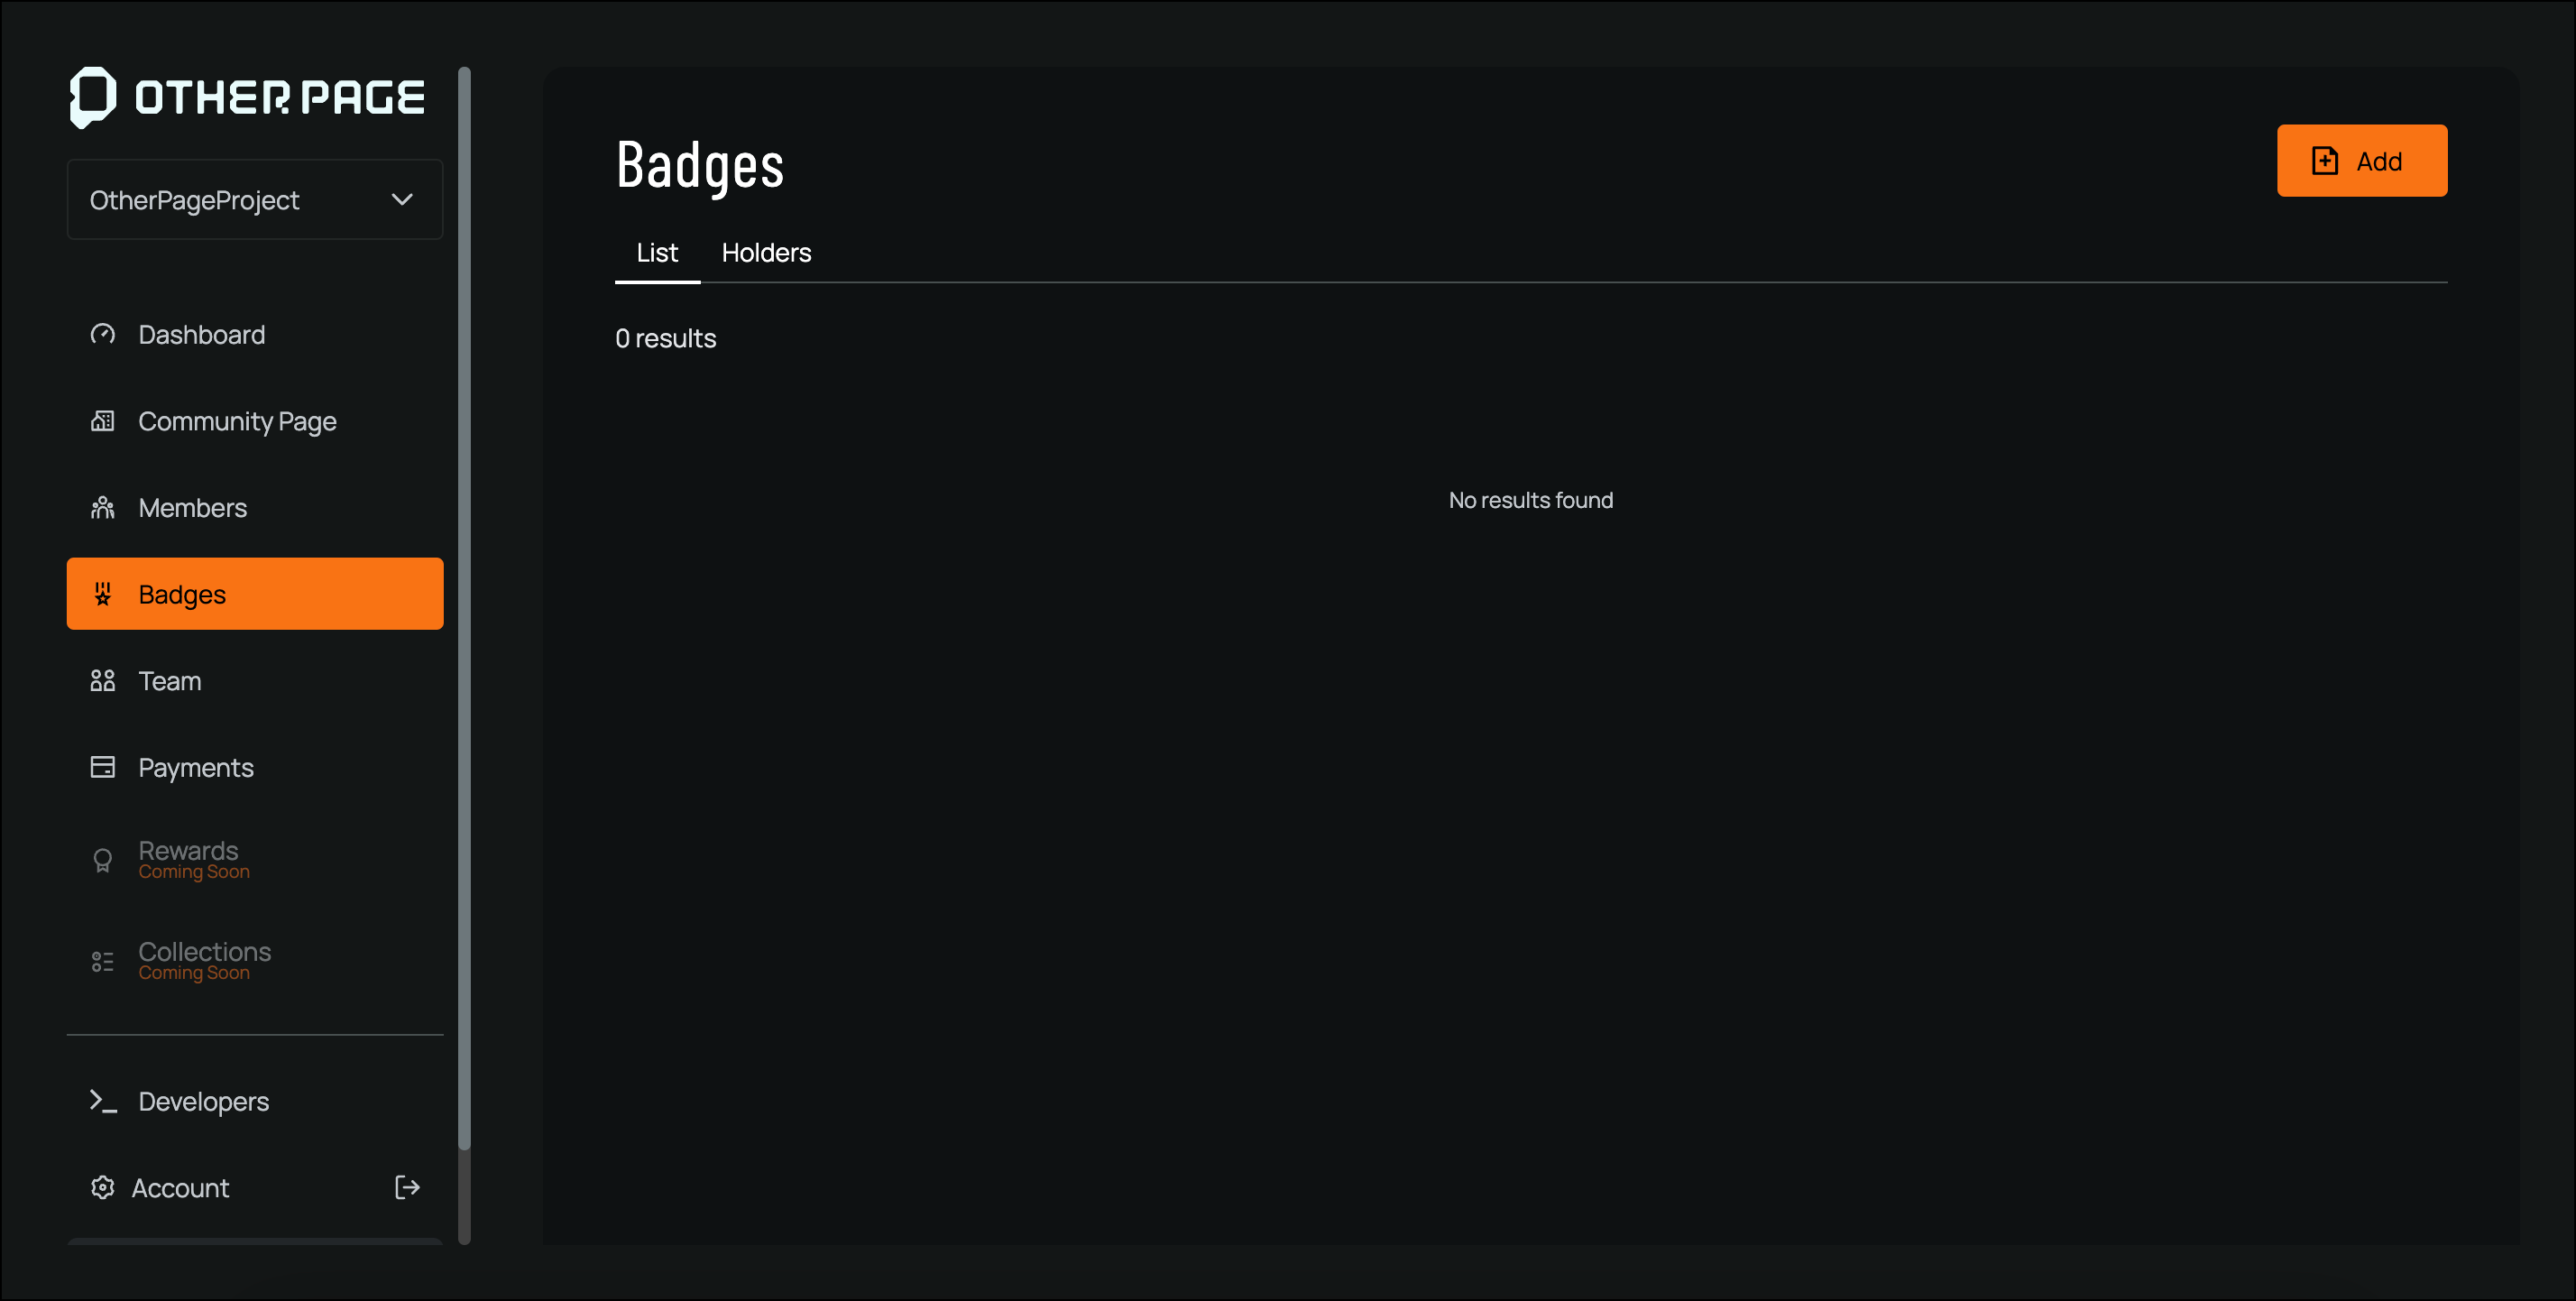
Navigate to the Badges page
-
Click Add from the top-right corner

-
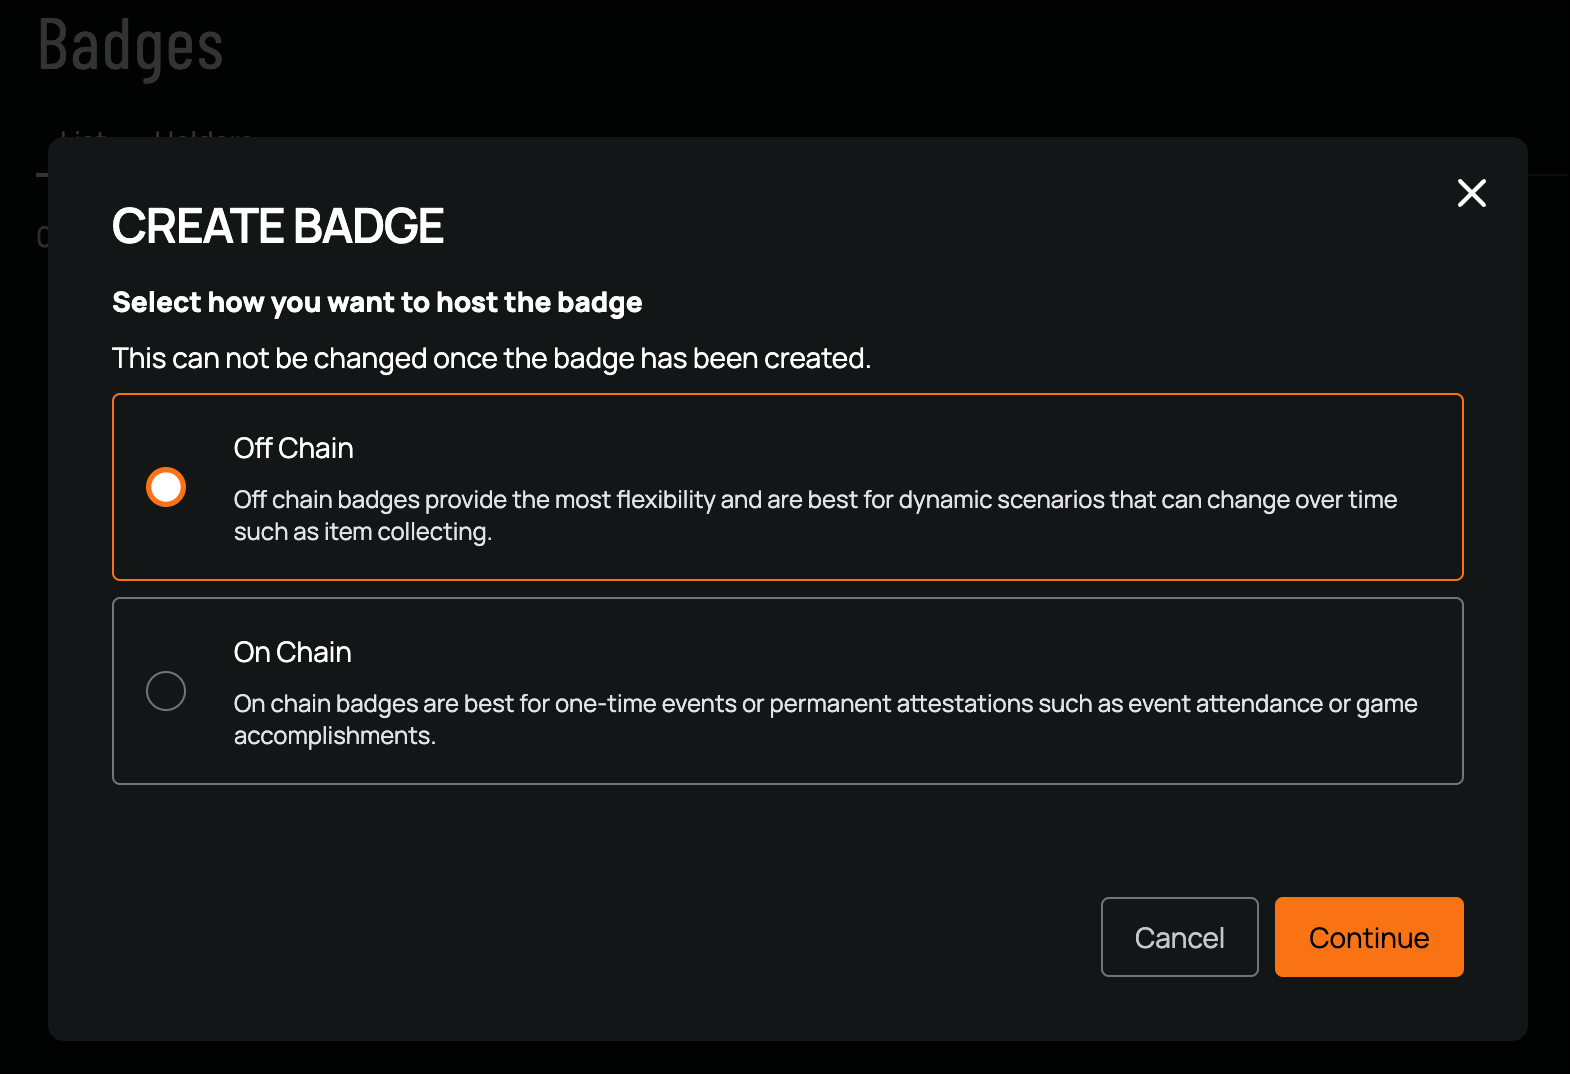
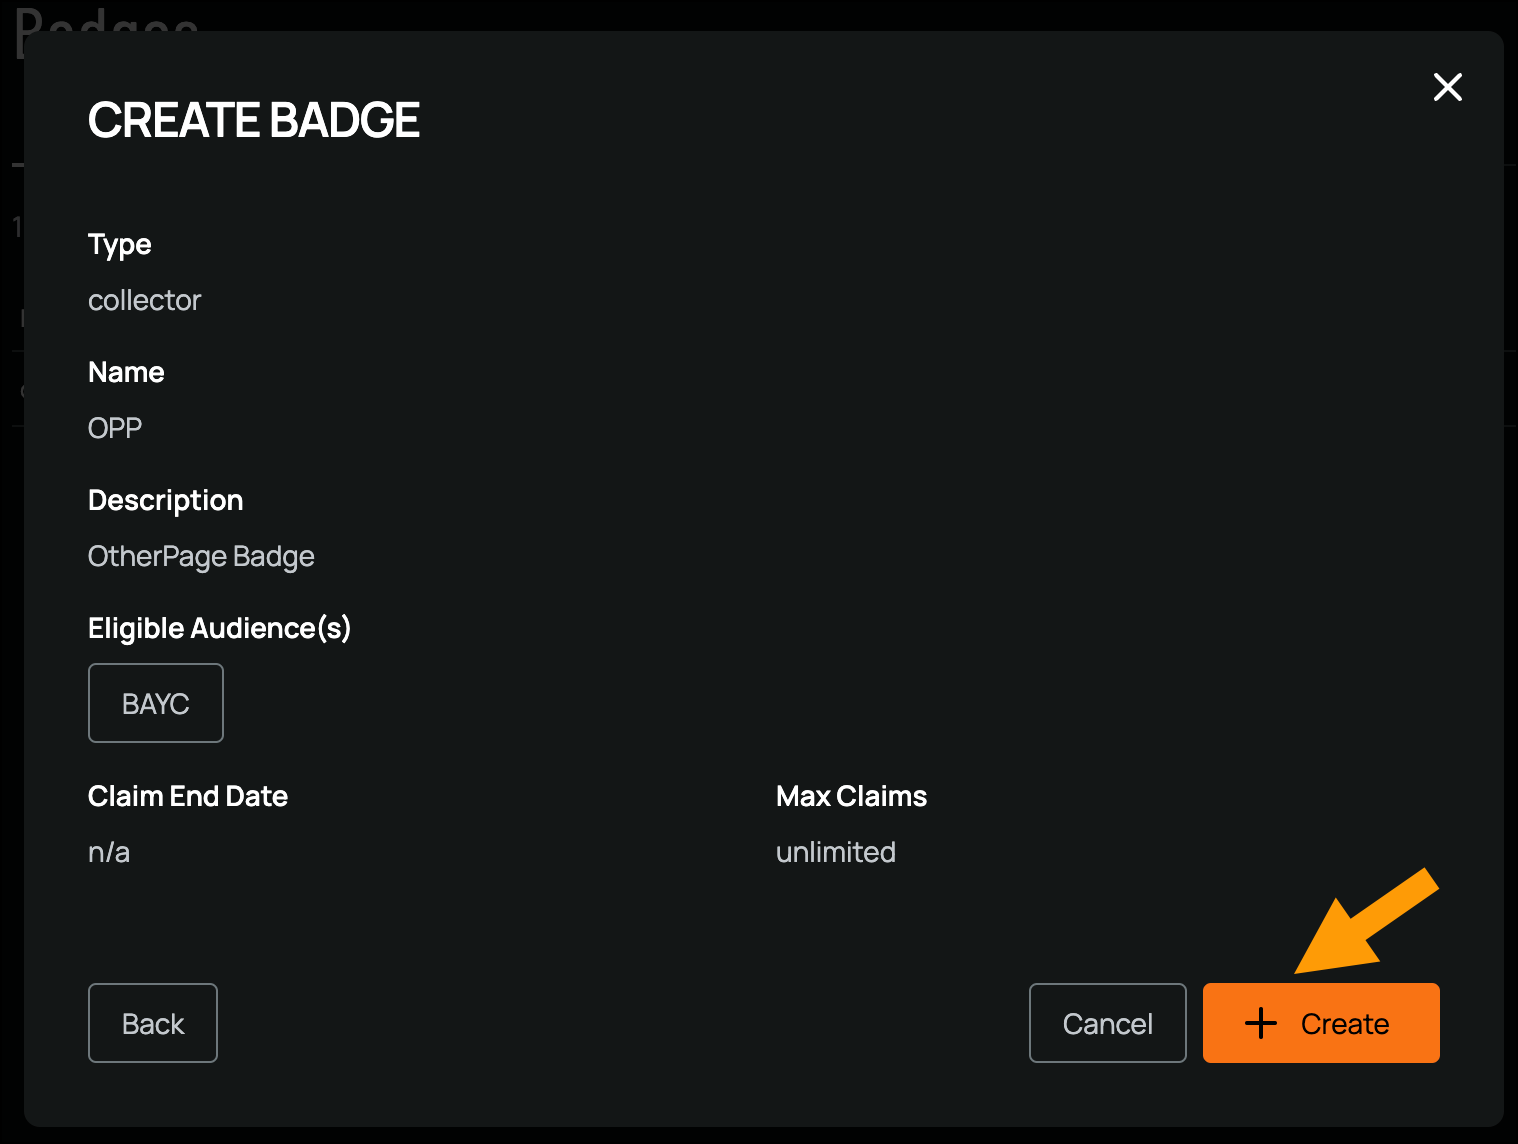
In the Create Badge screen, select the hosting option: Off Chain or On Chain (Pro feature)
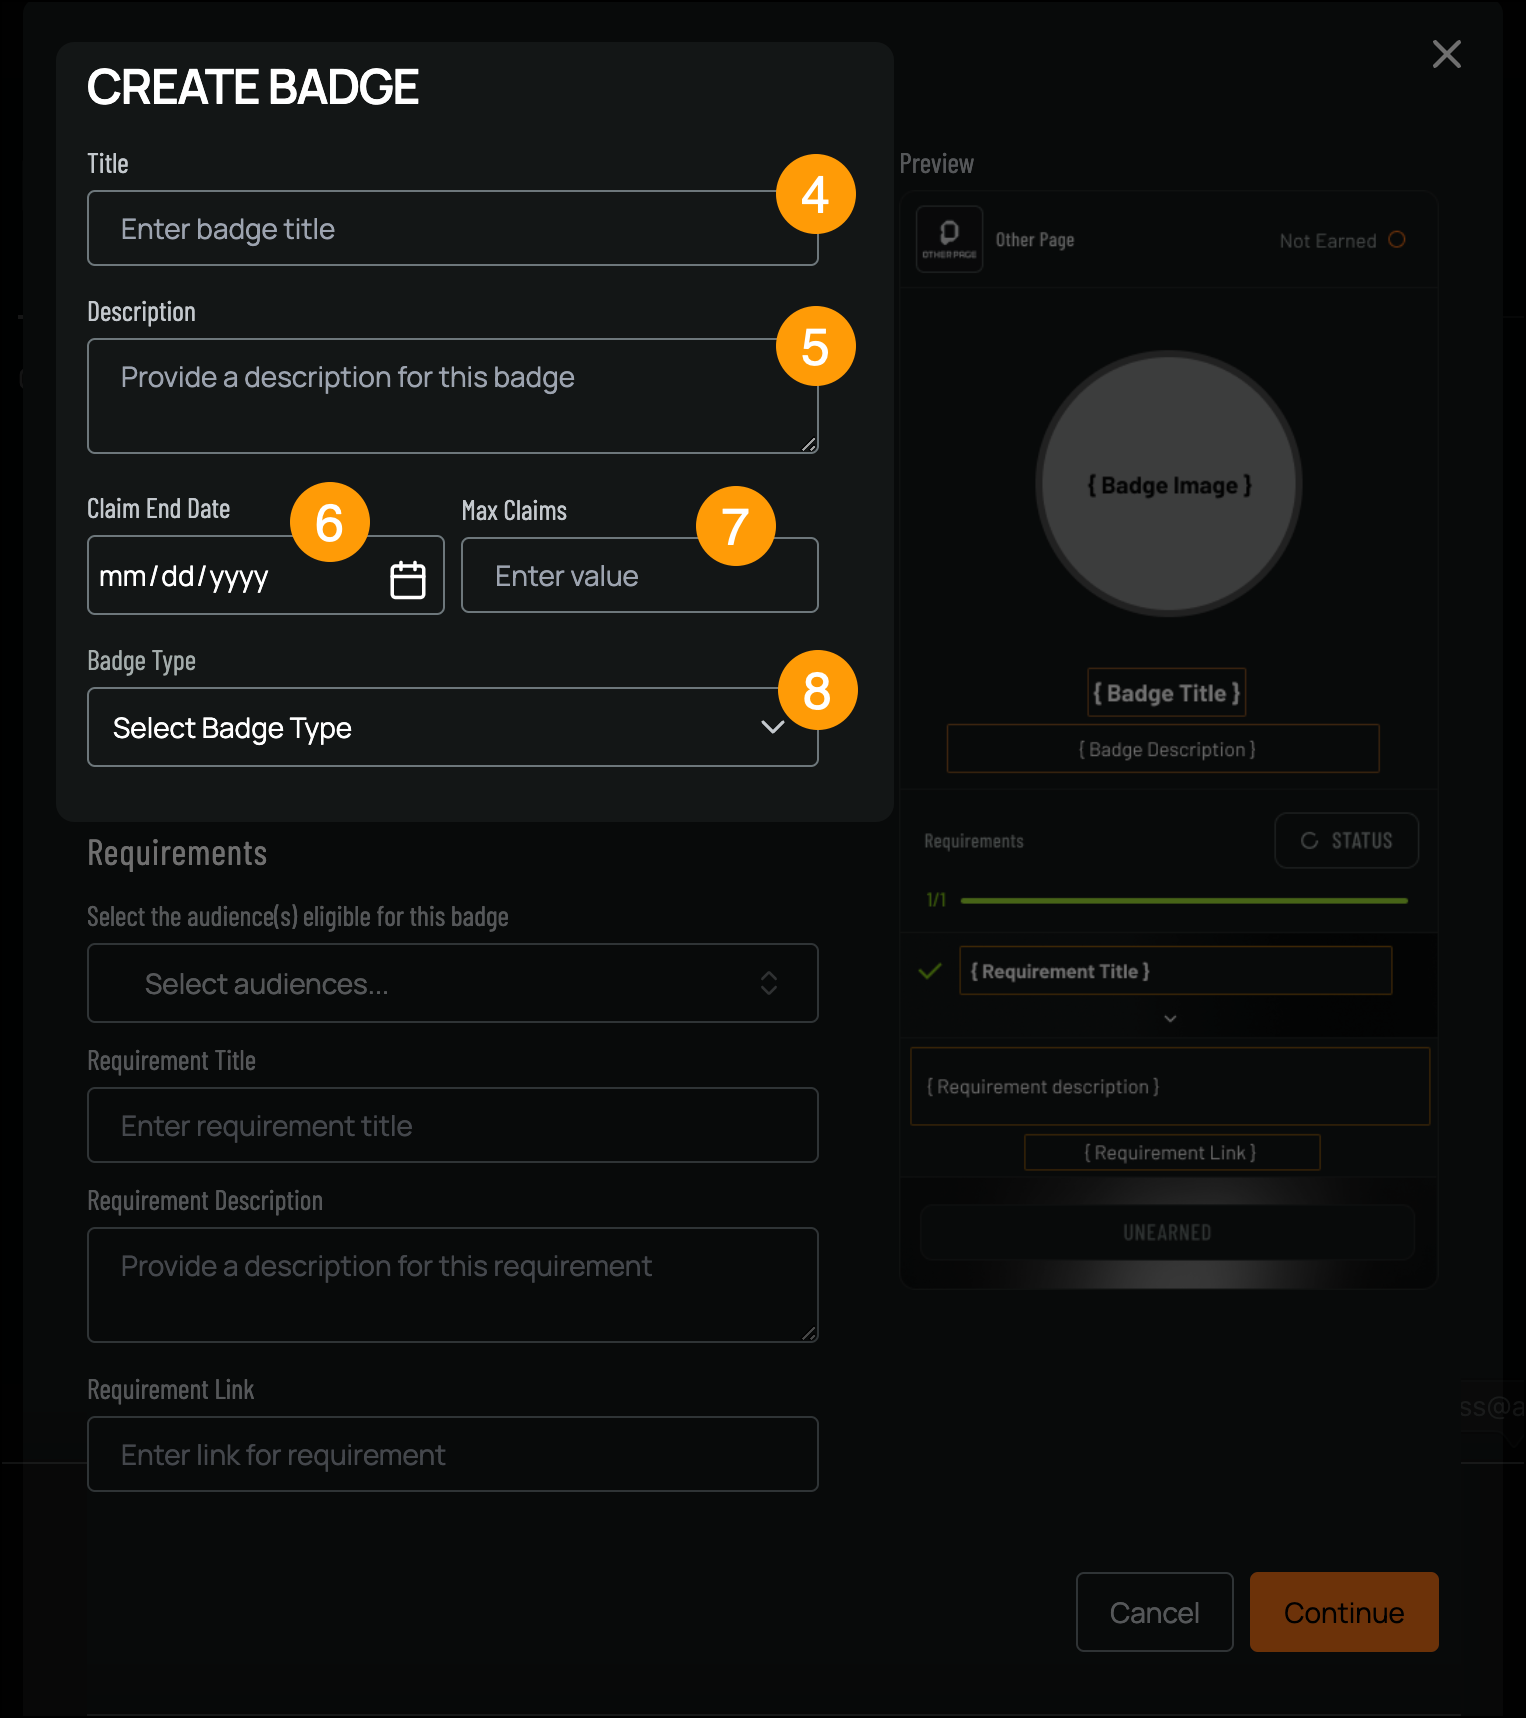
- Enter the badge title in the Title field
- Enter a description in the Description field
- Enter a claim date in the Claim End Date field
- Enter the maximum number of claims in the Max Claims field (must be numerical)
- Select the type of badge from the Badge Type drop-down
- Select the audience(s) eligible for this badge from the Select Audiences drop-down
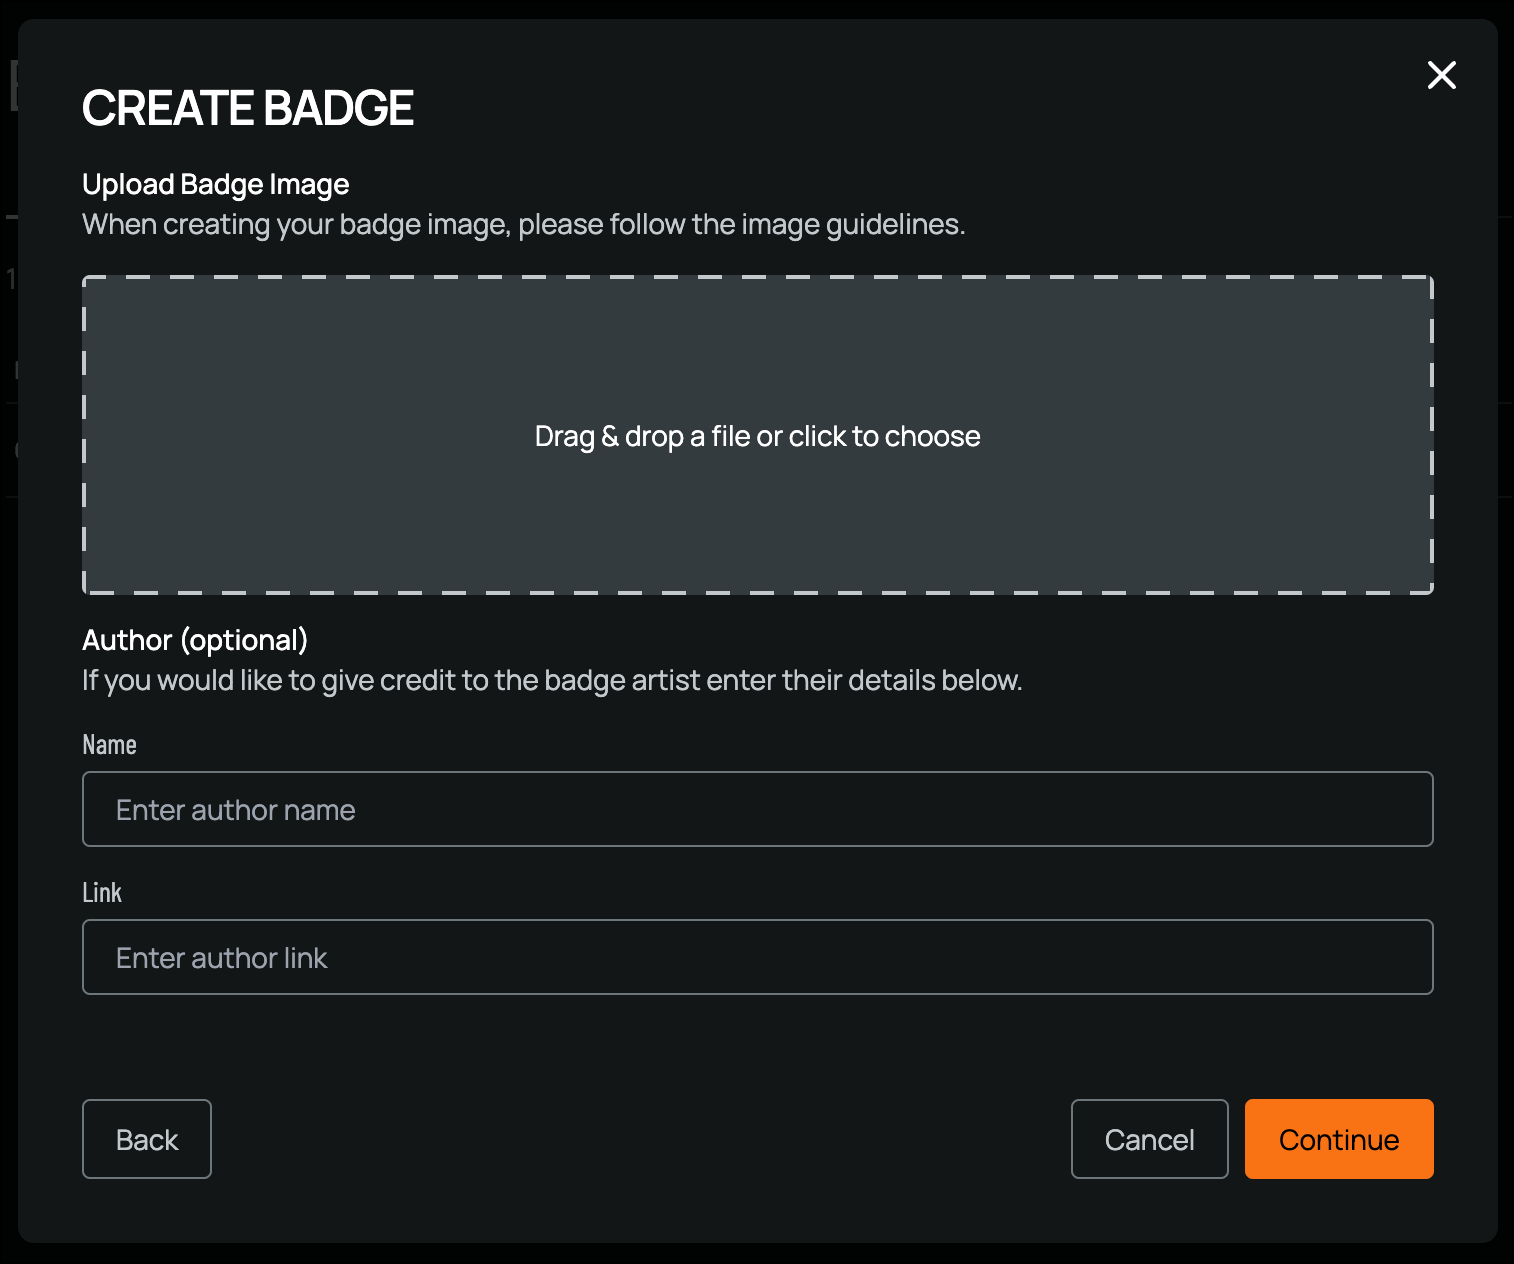
- Upload the badge image by dragging and dropping a file or clicking to choose a file
 Upon creation, the Badge Created screen will display with the badge’s Status (e.g., Under Review or Approved) and a unique Badge ID for future reference.
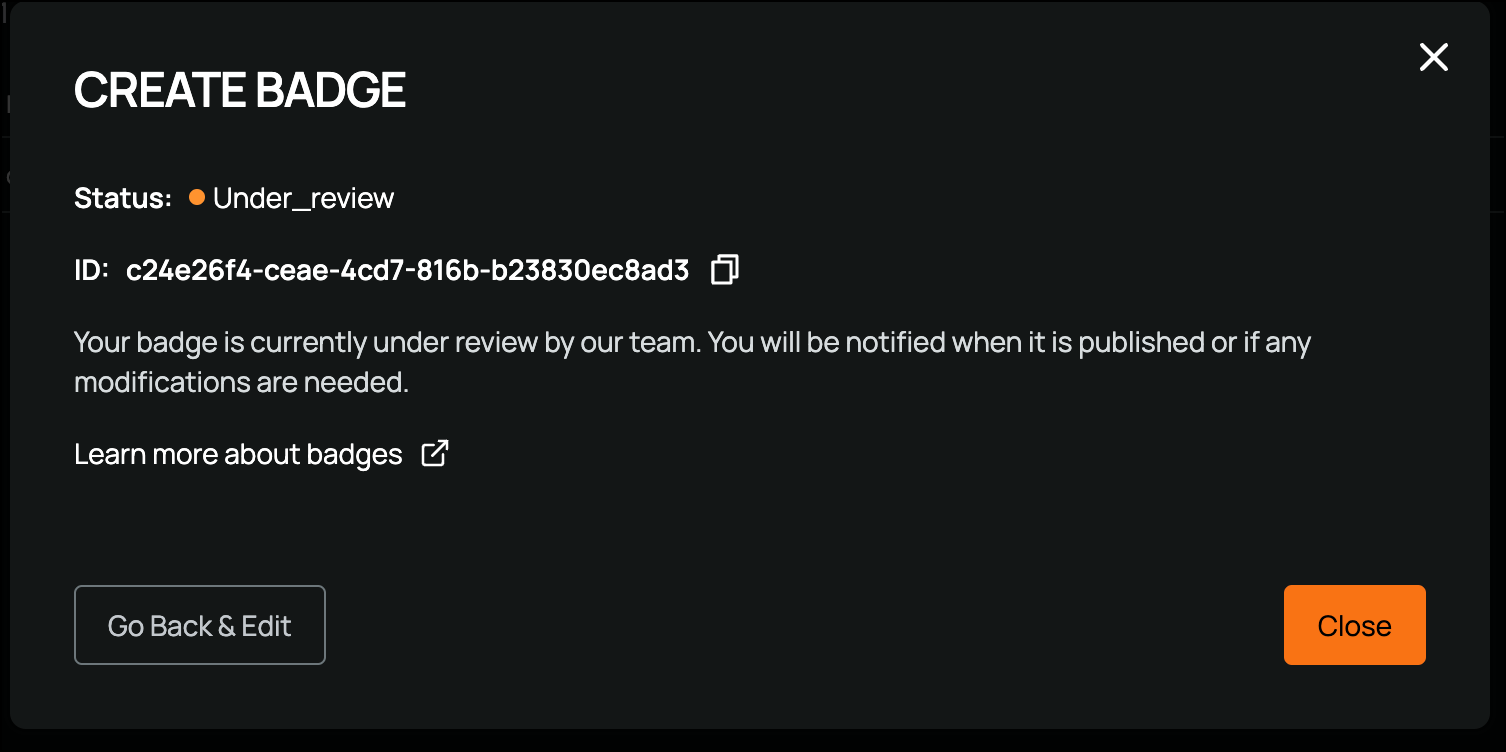
The Badge ID is used in API calls and can be copied to your clipboard for future reference
Badge Artwork
Badge artwork should conform to the following guidelines:- Minimum size: 256px x 256px
- Aspect Ratio: Square
- Border width: 24px
To assist with badge creation use our Figma Template
Badge Management
In the List tab, you can manage your badges by editing or deleting them as needed.Viewing Badge Details
To view more detailed information for a specific badge:
- Navigate to the Badges page
- Click on the badge you want to review
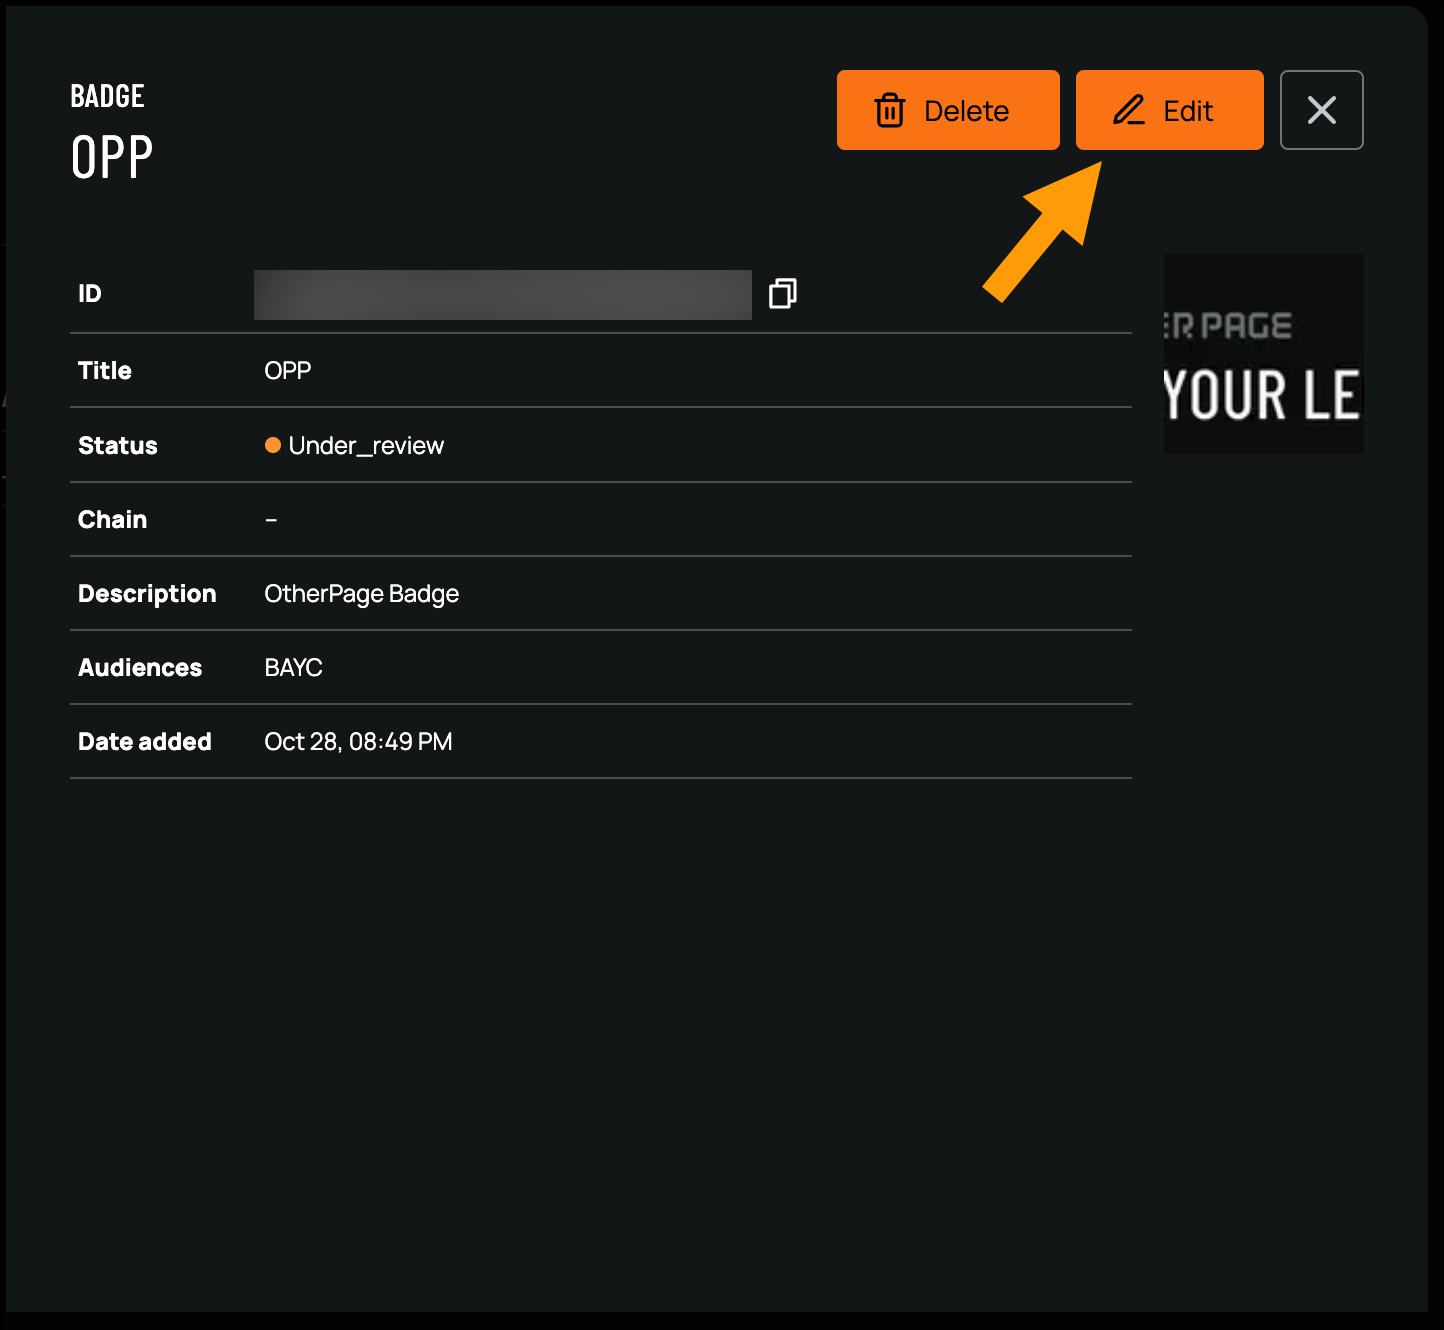
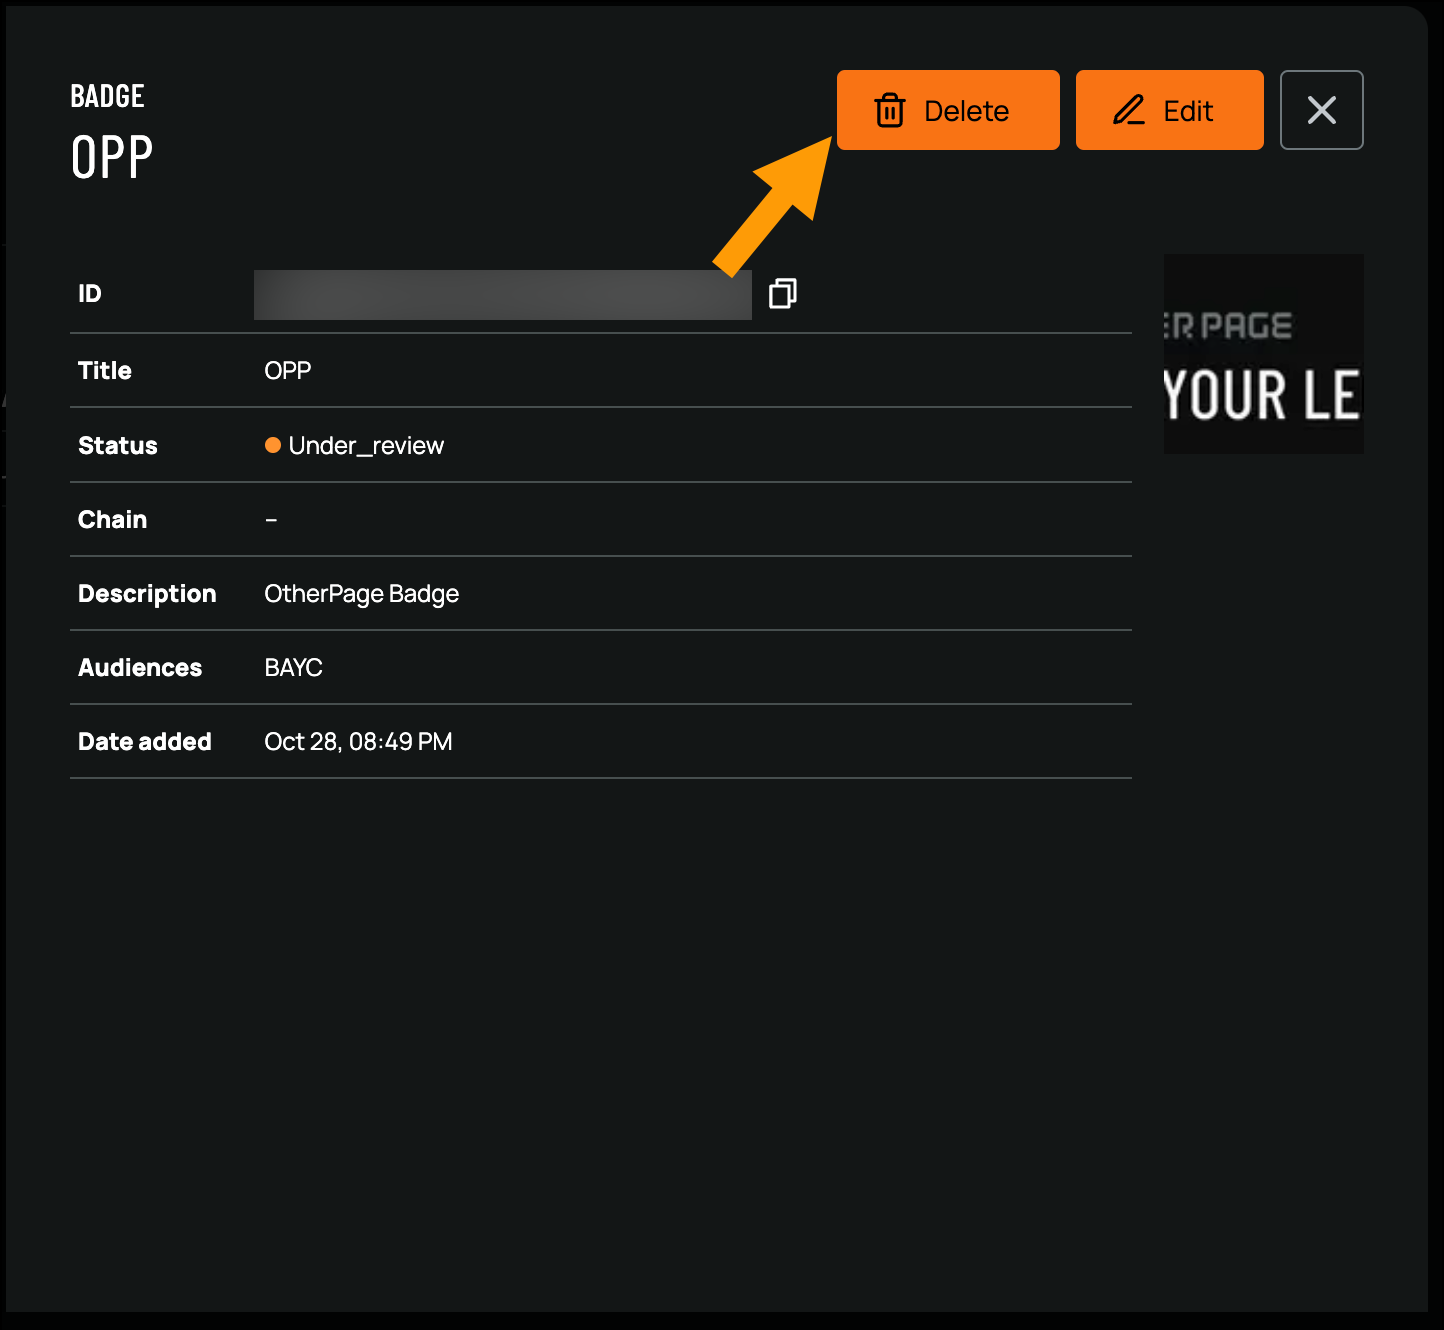
- The Badge Details screen will open, where you can view the follow details: ID Title Status Chain Audiences And other relevant criteria
Editing a Badge
If you need to modify a badge, follow these steps:- Navigate to the Badges page
- Click on the badge you want to edit
- The Badge Details screen will open
- Click Edit from the top-right corner to modify the badge’s information
Deleting a Badge
If you need to delete a badge, follow these steps:- Navigate to the Badges page
- Click on the badge you want to delete
-
The Badge Details screen will open
-
Click Delete in the top-right corner to delete the badge
Adding Badge Rewards
Token rewards can be added to badges to reward users for their achievements. Statuses- Open - The reward is currently open and will accrue eligible members until the claim end date is met or the spending cap is reached.
- Pending - The reward is currently pending and must be distributed by submitting a transaction.
- Sent - The reward has been distributed and is now complete.
To create a token reward you must first setup your vault. For more information on how to setup a vault, refer to the Vaults documentation.